From XML to Visuals: How to Use AI-Generated Flowcharts in draw.io
In the contemporary, rapidly evolving environment, the visualization of intricate processes and workflows is paramount for facilitating effective communication and informed decision-making. Flowcharts represent a potent instrument that can assist in the simplification and elucidation of these processes, thereby rendering them more comprehensible and navigable. Nonetheless, the construction of comprehensive and precise flowcharts can be labor-intensive and arduous, particularly for individuals who lack familiarity with the complexities of diagrammatic representation.
This is where artificial intelligence (AI) assumes a pivotal role. AI has fundamentally transformed numerous facets of our existence, and it is now making significant contributions to the domain of flowchart generation. By harnessing the capabilities of AI, one can produce flowcharts with remarkable speed and efficiency, thereby conserving valuable time and resources. However, how does one transform these AI-generated flowcharts into aesthetically pleasing diagrams?
In this blog entry, we shall elucidate the methodology for converting AI-generated flowcharts into visual diagrams utilizing draw.io, a widely recognized and adaptable diagramming application. We will address every aspect from the generation of the flowchart in XML format to the importation and customization within draw.io. By the conclusion of this guide, you will possess the requisite knowledge and competencies to seamlessly incorporate AI-generated flowcharts into your operational framework, thereby augmenting your productivity and communication efficacy.
Understanding AI-Generated Flowcharts
Flowcharts serve as vital instruments for visualizing processes, workflows, and intricate systems. They dissect convoluted tasks into digestible steps, simplifying the understanding and communication of concepts. Historically, the creation of flowcharts demanded manual labor and a solid grasp of diagramming techniques. Nonetheless, with the rise of artificial intelligence (AI), the art of generating flowcharts has transformed into a more accessible and efficient endeavor.
AI-generated flowcharts harness sophisticated algorithms to autonomously craft diagrams derived from input data. These innovative tools can dissect the architecture of a process and produce a corresponding flowchart in mere seconds. This not only conserves precious time but also guarantees precision and uniformity in the diagrams.
Benefits of Using AI for Creating Flowcharts
Time Efficiency: AI can conjure flowcharts at lightning speed compared to traditional methods, freeing you to concentrate on other crucial tasks.
Accuracy: AI algorithms significantly reduce human errors, ensuring that the flowcharts are exact and trustworthy.
Consistency: AI-generated flowcharts uphold a uniform style and format, making them easier to interpret and comprehend.
Scalability: AI tools are equipped to manage expansive and intricate processes, crafting detailed flowcharts that may prove daunting to create by hand.
Examples of Scenarios Where AI-Generated Flowcharts Can Be Useful
- Business Process Modeling: Illuminating business processes to pinpoint inefficiencies and opportunities for enhancement.
- Software Development: Diagramming software architecture, workflows, and user journeys with clarity.
- Project Management: Formulating project timelines, task dependencies, and resource allocation charts seamlessly.
- Education and Training: Crafting educational materials and training programs with clear, step-by-step instructions.
By grasping the benefits and applications of AI-generated flowcharts, you can harness these tools to boost your productivity and refine your workflow. In the following section, we will explore the technical intricacies of generating flowcharts in XML format and the methods to save them for use in draw.io.
Generating Flowcharts in XML Format
Once you understand the benefits and applications of AI-generated flowcharts, the next step is to generate these flowcharts in a format that can be easily imported into draw.io. One of the most versatile formats for this purpose is XML (Extensible Markup Language).
Step-by-Step Guide to Generating Flowcharts Using AI Tools
- Choose an AI Tool: Select an AI tool that supports flowchart generation. There are several options available, such as AI-powered diagramming software or online services that offer flowchart generation capabilities.
- Input Data: Provide the necessary input data to the AI tool. This could be in the form of text descriptions, process outlines, or structured data that the tool can analyze to create the flowchart.
- Generate the Flowchart: Use the AI tool to generate the flowchart. The tool will process the input data and produce a flowchart in XML format. This XML code represents the structure and elements of the flowchart.
Explanation of the XML Format
XML is a markup language that defines a set of rules for encoding documents in a format that is both human-readable and machine-readable. In the context of flowcharts, XML is used to describe the various elements of the diagram, such as shapes, connectors, and labels.
Sample Prompt:
Create a flowchart in XML format for the process of booking a flight online. The flowchart should include the following steps:
-
Open the flight booking website.
-
Enter travel details (departure, destination, dates).
-
Search for available flights.
-
Select a flight.
-
Enter passenger information.
-
Choose additional services (e.g., seat selection, baggage).
-
Review booking details.
-
Make payment.
-
Receive booking confirmation.
Here is a sample XML code for a basic flowchart:
<mxfile host="app.diagrams.net">
  <diagram name="Flight Booking Process">
    <mxGraphModel dx="1000" dy="1000" grid="1" gridSize="10" guides="1" tooltips="1" connect="1" arrows="1" fold="1" page="1" pageScale="1" pageWidth="827" pageHeight="1169" math="0" shadow="0">
      <root>
        <mxCell id="0" />
        <mxCell id="1" parent="0" />
        <mxCell id="2" value="Open Flight Booking Website" style="rounded=1;whiteSpace=wrap;html=1;" vertex="1" parent="1">
          <mxGeometry x="100" y="100" width="160" height="60" as="geometry" />
        </mxCell>
        <mxCell id="3" value="Enter Travel Details" style="rounded=1;whiteSpace=wrap;html=1;" vertex="1" parent="1">
          <mxGeometry x="300" y="100" width="160" height="60" as="geometry" />
        </mxCell>
        <mxCell id="4" value="Search for Available Flights" style="rounded=1;whiteSpace=wrap;html=1;" vertex="1" parent="1">
         160" height="60" as="geometry" />
        </mxCell>
        <mxCell id="5" value="Select a Flight" style="rounded=1;whiteSpace=wrap;html=1;" vertex="1" parent="1">
          <mxGeometry x="700" y="100" width="160" height="60" as="geometry" />
        </mxCell>
        <mxCell id="6" value="Enter Passenger Information" style="rounded=1;whiteSpace=wrap;html=1;" vertex="1" parent="1">
          <mxGeometry x="900" y="100" width="160" height="60" as="geometry" />
        </mxCell>
        <mxCell id="7" value="Choose Additional Services" style="rounded=1;whiteSpace=wrap;html=1;" vertex="1" parent="1">
          <mxGeometry x="1100" y="100" width="160" height="60" as="geometry" />
        </mxCell>
        <mxCell id="8" value="Review Booking Details" style="rounded=1;whiteSpace=wrap;html=1;" vertex="1" parent="1">
          <mxGeometry x="1300" y="100" width="160" height="60" as="geometry" />
        </mxCell>
        <mxCell id="9" value="Make Payment" style="rounded=1;whiteSpace=wrap;html=1;" vertex="1" parent="1">
          <mxGeometry x="1500" y="100" width="160" height="60" as="geometry" />
        </mxCell>
        <mxCell id="10" value="Receive Booking Confirmation" style="rounded=1;whiteSpace=wrap;html=1;" vertex="1" parent="1">
          <mxGeometry x="1700" y="100" width="160" height="60" as="geometry" />
        </mxCell>
        <mxCell id="11" edge="1" parent="1" source="2" target="3">
          <mxGeometry relative="1" as="geometry" />
        </mxCell>
        <mxCell id="12" edge="1" parent="1" source="3" target="4">
          <mxGeometry relative="1" as="geometry" />
        </mxCell>
        <mxCell id="13" edge="1" parent="1" source="4" target="5">
          <mxGeometry relative="1" as="geometry" />
        </mxCell>
        <mxCell id="14" edge="1" parent="1" source="5" target="6">
          <mxGeometry relative="1" as="geometry" />
        </mxCell>
        <mxCell id="15" edge="1" parent="1" source="6" target="7">
          <mxGeometry relative="1" as="geometry" />
        </mxCell>
        <mxCell id="16" edge="1" parent="1" source="7" target="8">
          <mxGeometry relative="1" as="geometry" />
        </mxCell>
        <mxCell id="17" edge="1" parent="1" source="8" target="9">
          <mxGeometry relative="1" as="geometry" />
        </mxCell>
        <mxCell id="18" edge="1" parent="1" source="9" target="10">
          <mxGeometry relative="1" as="geometry" />
        </mxCell>
      </root>
    </mxGraphModel>
  </diagram>
</mxfile>
This XML code represents a simple flowchart for ordering food through an app. Each <mxCell> element defines a shape or connector in the flowchart, with attributes specifying its properties such as position, size, and style.
Saving the XML Code as a File
Now that you have your AI-generated flowchart in XML format, the next step is to save this code as an XML file. This file will then be imported into draw.io to visualize the flowchart. Follow these simple steps to save your XML code:
Instructions on Saving the XML Code
- Open a Text Editor: Use any text editor available on your computer. Common options include Notepad (Windows), TextEdit (Mac), or any code editor like Visual Studio Code, Sublime Text, or Atom.
- Paste the XML Code: Copy the XML code generated by the AI tool and paste it into the text editor. Ensure that the entire code is copied correctly without any missing parts.
- Save the File: Save the file with a
.xmlextension. This is crucial as it tells the system that the file contains XML data. For example, you can name the filegrab_order_flow.xml.- In Notepad (Windows): Click on
File>Save As.... In the “Save as type” dropdown, select “All Files” and then enter the file name with a.xmlextension. - In TextEdit (Mac): Click on
File>Save. In the “Save As” field, enter the file name with a.xmlextension. Ensure the “If no extension is provided, use .txt” option is unchecked.
- In Notepad (Windows): Click on
- Verify the File: After saving, navigate to the location where you saved the file and ensure it has the
.xmlextension. You can open the file with the text editor to verify that the content is correct.
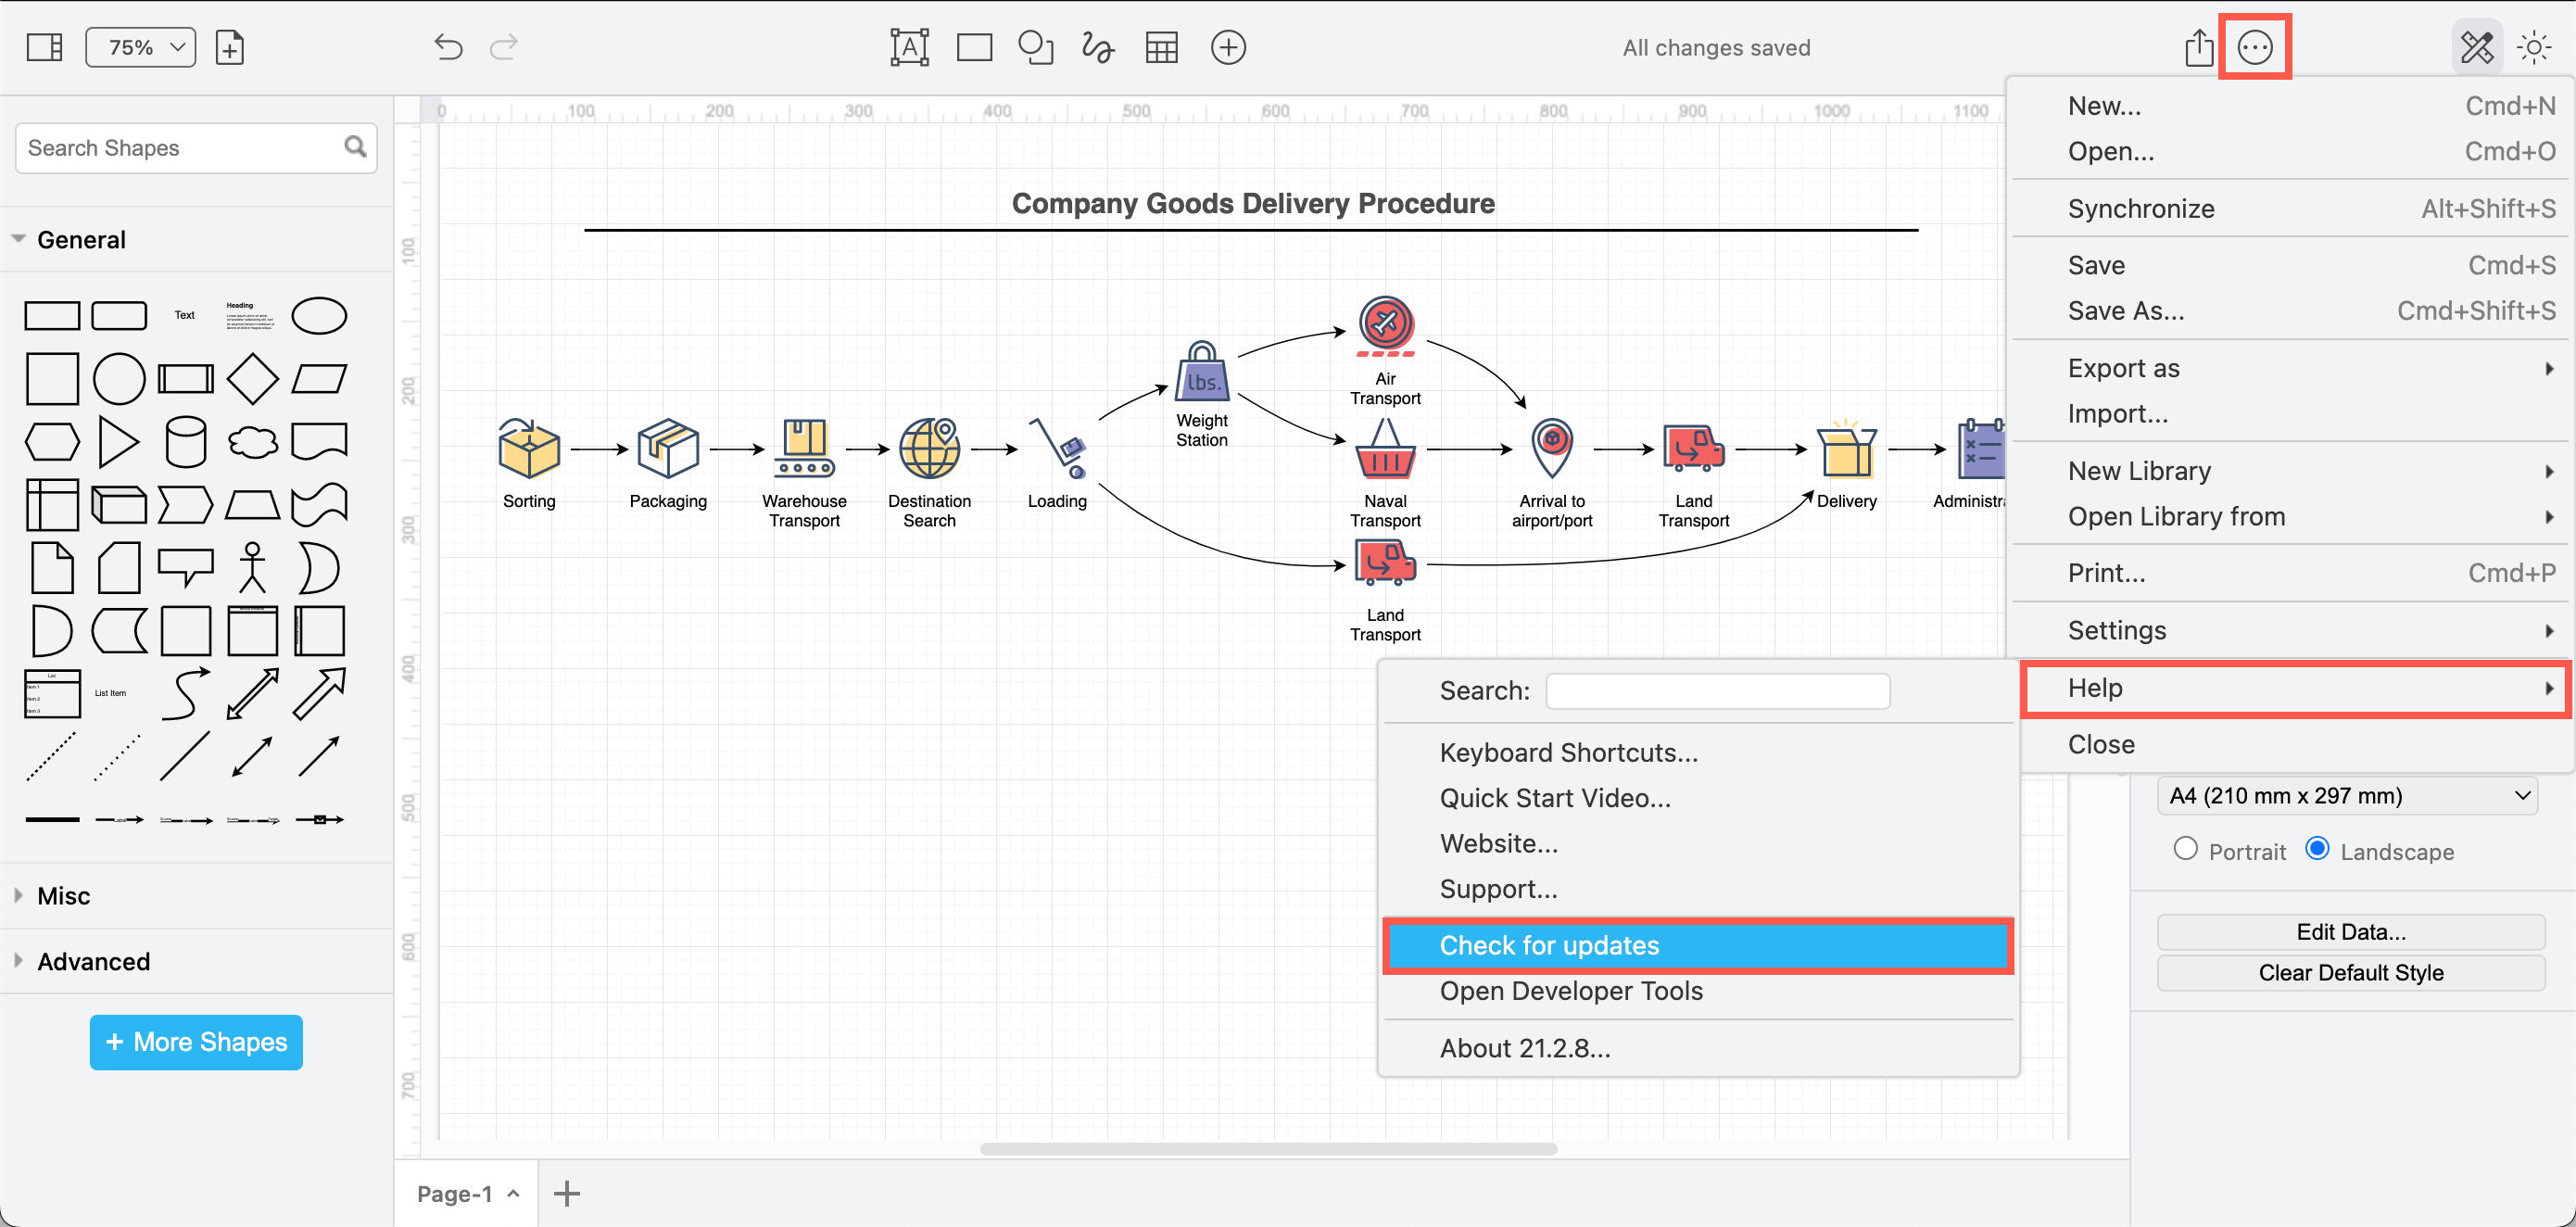
Importing XML into draw.io
With your XML file saved, the next step is to import it into draw.io to visualize and customize your flowchart. Draw.io is a versatile and user-friendly diagramming tool that allows you to create, edit, and share diagrams with ease. Follow these steps to import your XML file into draw.io:
Step-by-Step Guide to Importing the XML File
- Open draw.io: Go to draw.io in your web browser. You can also use the desktop version if you have it installed.
- Create a New Diagram: On the draw.io homepage, click on “Create New Diagram.” You can choose a blank diagram or select a template if you prefer.
- Open the XML Editor: In the top menu, click on
File, then selectImport From>Device.... This will open a file selection dialog. - Select the XML File: Navigate to the location where you saved your XML file (e.g.,
grab_order_flow.xml) and select it. ClickOpento import the file. - Visualize the Flowchart: Once the file is imported, draw.io will automatically generate the flowchart based on the XML content. You should see your flowchart appear on the canvas, with all the shapes and connectors in place.
Troubleshooting Tips
- File Not Importing: If the file does not import correctly, double-check that the XML code is complete and properly formatted. Ensure there are no missing tags or syntax errors.
- Elements Not Displaying Correctly: If some elements are not displaying as expected, you may need to adjust the XML code or manually edit the diagram in draw.io.
-
Customizing the Flowchart in draw.io
Once you have imported your AI-generated flowchart into draw.io, you can customize it to better suit your needs and preferences. Draw.io offers a wide range of tools and features that allow you to enhance the visual appeal and clarity of your flowchart. Here are some tips and steps to help you customize your flowchart:
Adjusting Shapes and Connectors
- Select and Move Shapes: Click on any shape to select it. You can then drag and drop the shape to reposition it on the canvas. Use the alignment guides to ensure your shapes are properly aligned.
- Resize Shapes: Click on a shape to select it, then drag the handles on the corners or sides to resize it. Hold the
Shiftkey while resizing to maintain the aspect ratio. - Edit Connectors: Click on a connector to select it. You can then drag the endpoints to attach them to different shapes or adjust the connector’s path. Use the connector handles to create bends or curves.
Adding Labels and Annotations
- Add Text Labels: Double-click on any shape or connector to add a text label. You can format the text using the toolbar options, such as changing the font, size, color, and alignment.
- Insert Annotations: Use the text tool to add annotations or notes to your flowchart. Click on the
Textbutton in the toolbar, then click on the canvas to place the text box. Enter your annotation and format it as needed.
Changing Styles and Colors
- Apply Styles: Select a shape or connector, then use the style options in the toolbar to change its appearance. You can adjust the fill color, border color, line style, and more.
- Use Themes: Draw.io offers various themes that you can apply to your entire flowchart. Click on
Formatin the top menu, then selectThemesto choose a theme that matches your desired look and feel. - Add Icons and Images: Enhance your flowchart by adding icons or images. Click on the
Insertbutton in the toolbar, then selectImageto upload an image from your device or choose from the available icons.
Examples of Customization
- Highlighting Key Steps: Use different colors or shapes to highlight critical steps in your process.
- Grouping Related Elements: Use containers or grouping tools to visually group related elements together.
- Adding Legends or Keys: Include a legend or key to explain the symbols and colors used in your flowchart.
Conclusion
In this guide, we’ve explored the process of transforming AI-generated flowcharts into visual diagrams using draw.io. By leveraging the power of AI, you can quickly and efficiently create detailed flowcharts that enhance your productivity and communication. Here’s a quick recap of the steps we covered:
- Understanding AI-Generated Flowcharts: We discussed the benefits and applications of using AI to generate flowcharts, highlighting how it can save time, ensure accuracy, and maintain consistency.
- Generating Flowcharts in XML Format: We provided a step-by-step guide on how to generate flowcharts using AI tools and explained the significance of the XML format in representing flowcharts.
- Saving the XML Code as a File: We walked through the process of saving the AI-generated XML code as a .xml file using a text editor.
- Importing XML into draw.io: We detailed the steps to import the XML file into draw.io, allowing you to visualize and work with your flowchart.
- Customizing the Flowchart in draw.io: We offered tips on customizing your flowchart in draw.io, including adjusting shapes and connectors, adding labels and annotations, and changing styles and colors.
By following these steps, you can seamlessly integrate AI-generated flowcharts into your workflow, making complex processes easier to understand and communicate. Whether you’re in business, software development, project management, education, or healthcare, AI-generated flowcharts can help you visualize and optimize your processes.
We hope this guide has been helpful and informative. If you have any questions or comments, please feel free to leave them below.
@lerlerchan by LerLer Chan

Ler Travel Diary is using
Web Hosting and n8n on Hostinger
To be a smart saver, check out
ShopBack for more information.
Enjoy SGD5 discount voucher on
Klook with code 53E7UD
Need discount for your travels? Check out our travel deals page.